LynchNW Blog
How a Clip is Made
Making Deep Carry Titanium Clips - A Step by Step Guide Through Our Process
Get an inside look at what is takes to manufacture quality deep carry titanium clips. Learn more about how our team crafts clips for our customers.
by Casey Lynch • July 18, 2023
We make all our clips by hand, one-at-a-time. This was pretty easy at first, when I was making and selling 100 clips a month. But now our goal is to make around 1,250 clips a week, and that can make putting out consistently good parts really difficult.
Thank goodness for our Production Magician, Rick, and our Shop Boss, Kaden. Rick designed the process we now use, and Kaden (also our lead machinist) integrated it into our manufacturing methodology. This system, called kanban, is a concept mechanism that makes everything go. Complicated on the surface, but simple in it’s application, kanban is a ‘just-in-time’ scheduling system, first developed at Toyota in the 1940s. It relies on visual cues (in our case, laminated cards) to track production and improve manufacturing capability, throughput, and efficiency.
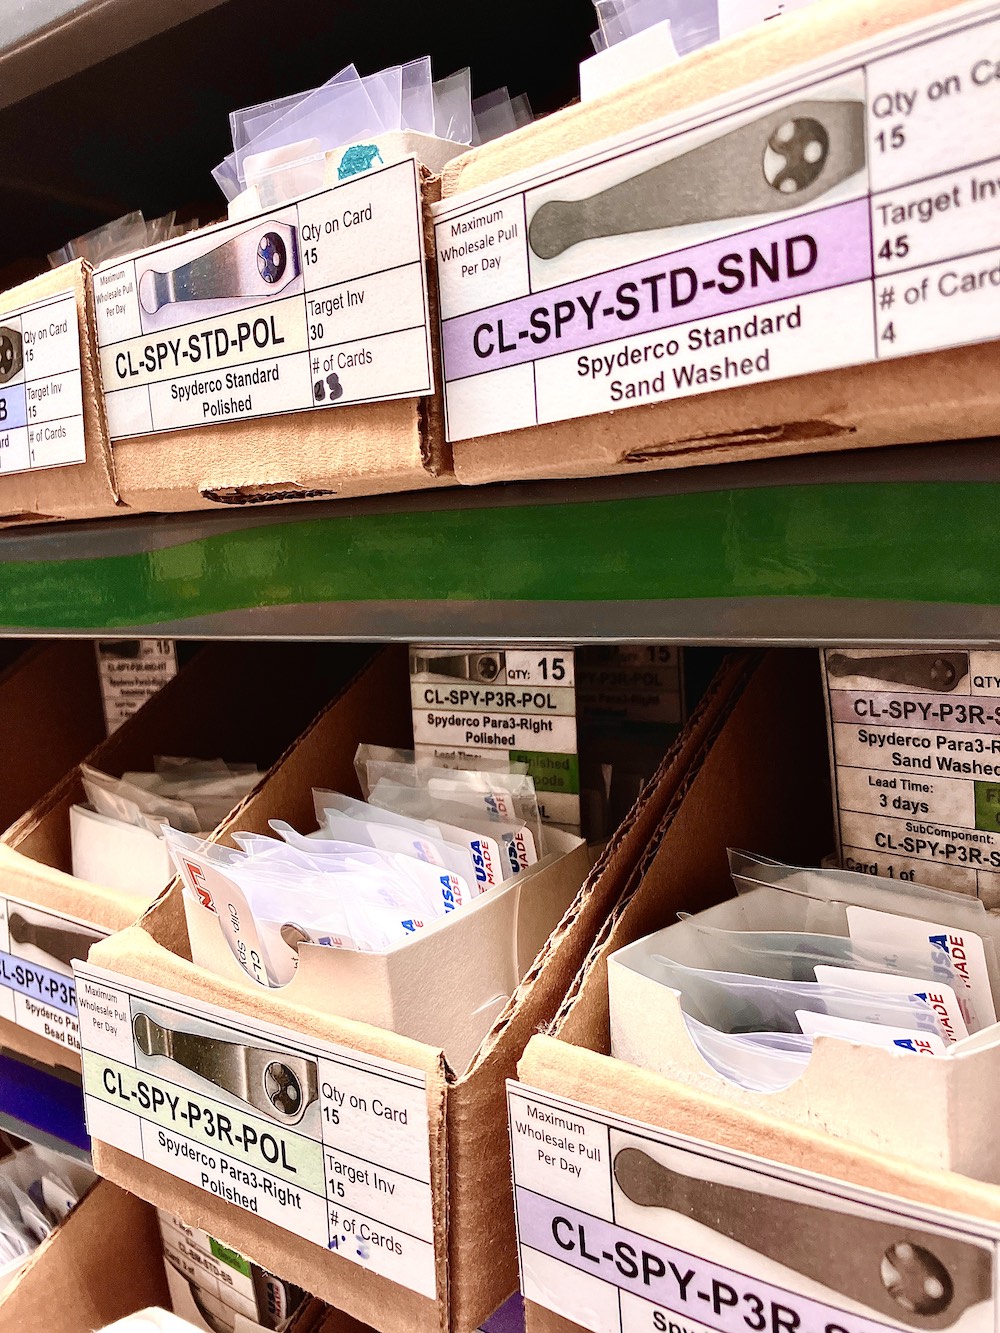
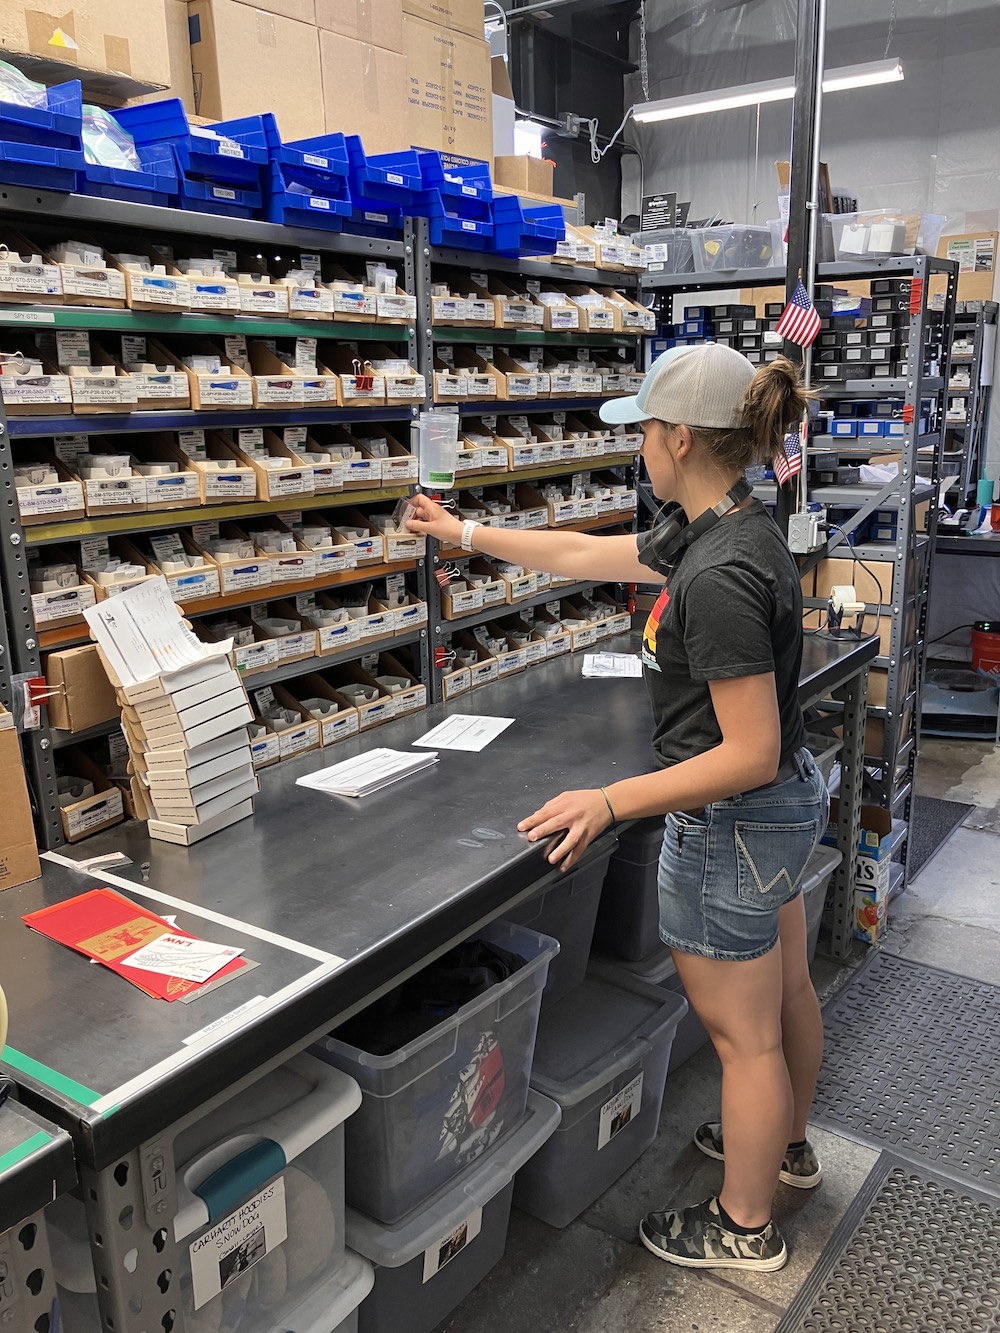
Back to making the clips. The process begins when a kanban card lets our Strider know that we’re ready to make another batch of a certain model. The Strider (often called a ‘Water Spider’ in Lean manufacturing lingo) is the person responsible for making sure all the manufacturing steps are flowing correctly and that every station in the process has what it needs. The kanban ‘trigger’ - what gets the whole thing started - is based on how many of that specific clip we have left in inventory. Once we get down to the pre-determined number, indicating that we’re running low, the Strider (Riley) gives a laminated card, corresponding to that specific clip, to the waterjet station. In effect, the Strider is letting the waterjet operator know what needs to be cut next, and so the first domino tips.
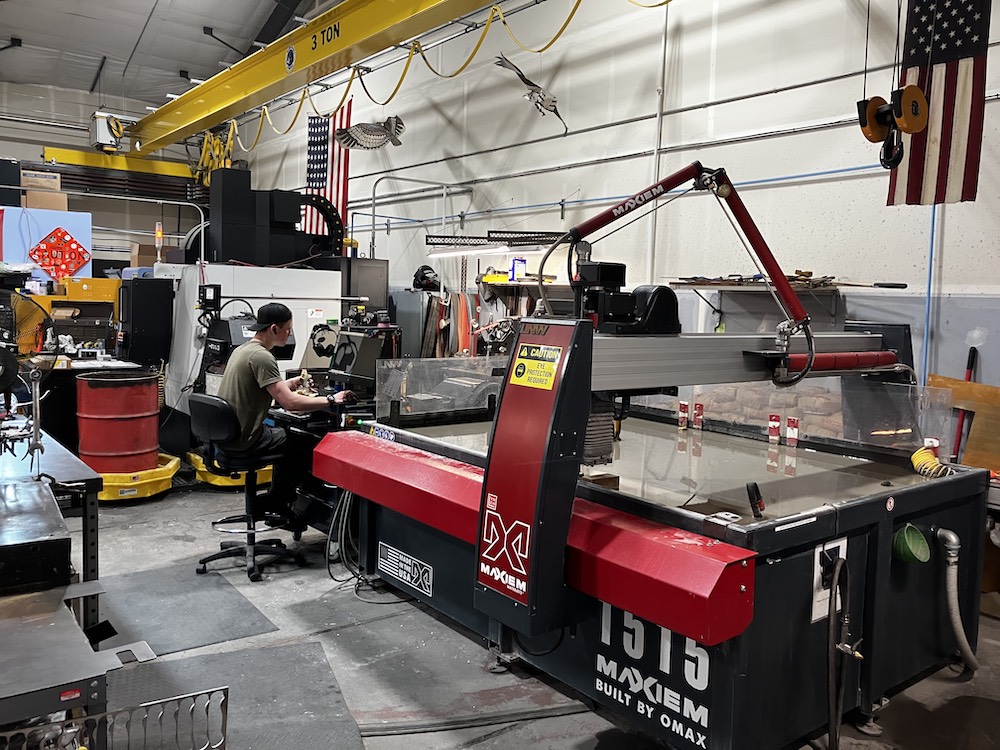
After bringing sheets 6AL-4V (Grade 5) titanium from our material racks and into the shop, our waterjet operator (Taden, and Riley’s brother) gauges the thickness of the material to make sure it falls within our required tolerances. In the waterjet software, the clips are ‘nested’ in a way that results in the best yield of material, as well as the most efficient tool path. Taden cuts rows of blanks of whatever model we’re making, typically in quantities of about 700 pieces at a time.
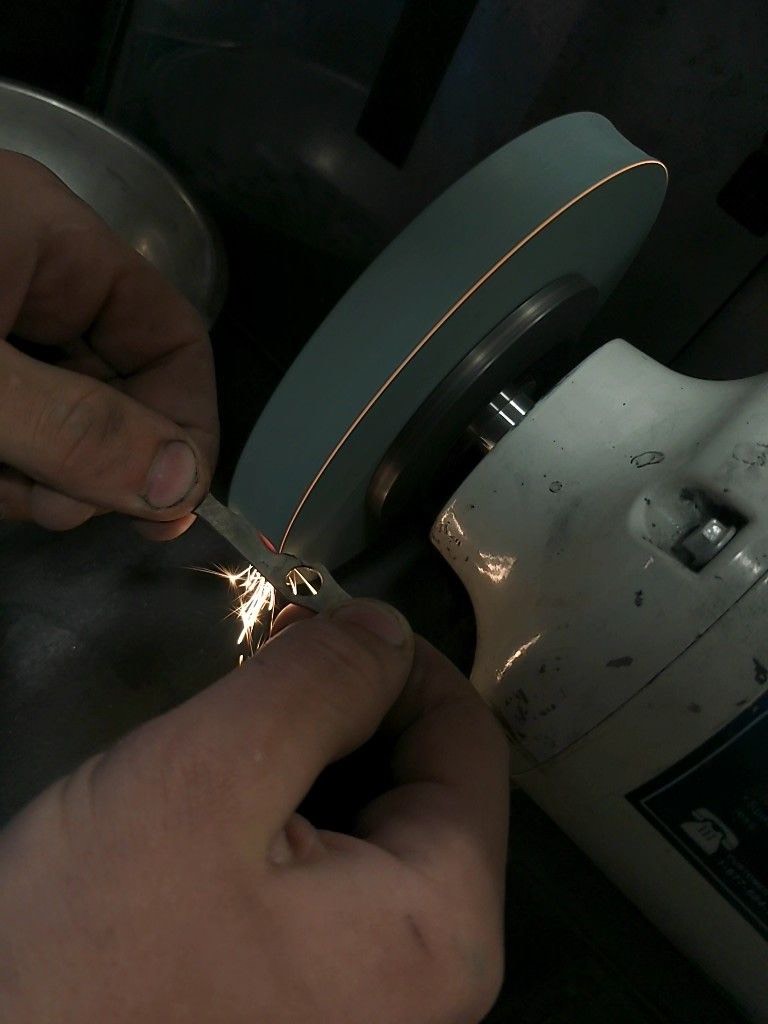
The cutting process is ultra precise, but still leaves a slight ‘saw edge’ on the ti. After the clips are removed from the sheet, each edge is hand ground to smooth. The first QC (quality control) pass is done here to make sure the shape and holes are within tolerance.
From there, the clips go to Kyle and into the initial tumbling process. Tumbling de-burrs any sharp edges, and gives the surface of the ti a uniform finish, which helps identify any flaws in the ti itself before the clip moves down the line.
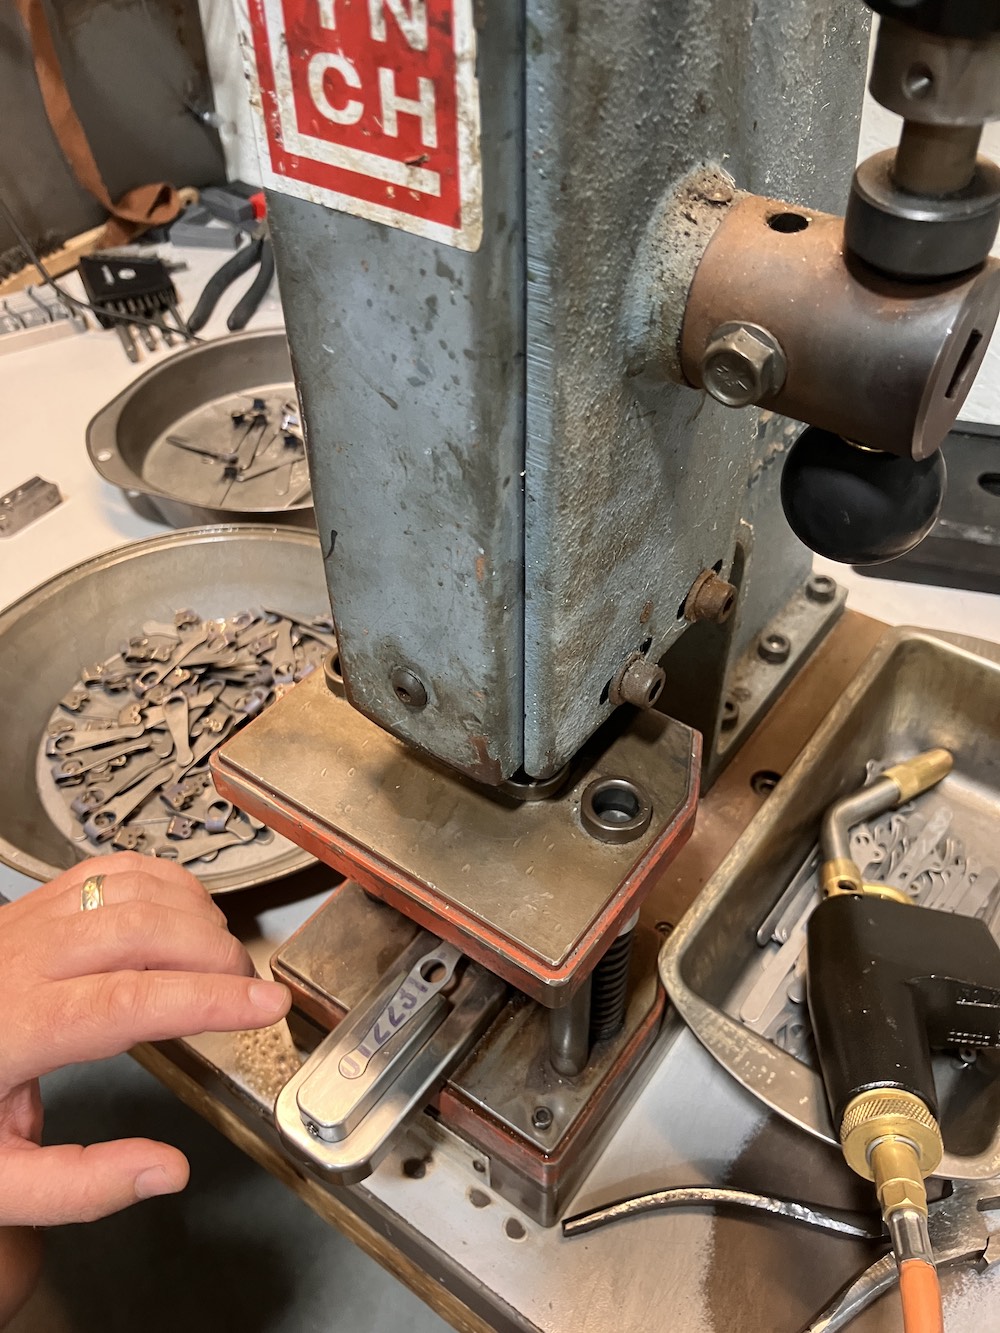
Now the clips are ready for the bending operation. Each clip is bent manually, one at a time, by Kayley. Because the bent shape is made in a series of steps, and because heat needs to be applied during forming, each clip goes through 4 different processes as it transforms from a flat piece of ti to a fully formed clip. The 2nd QC inspection happens at the end of forming via a visual inspection, as well as by running the clips through a ‘Go/No Go’ gauge. This is done to make sure all the curves and bends are within each model’s specified tolerances.
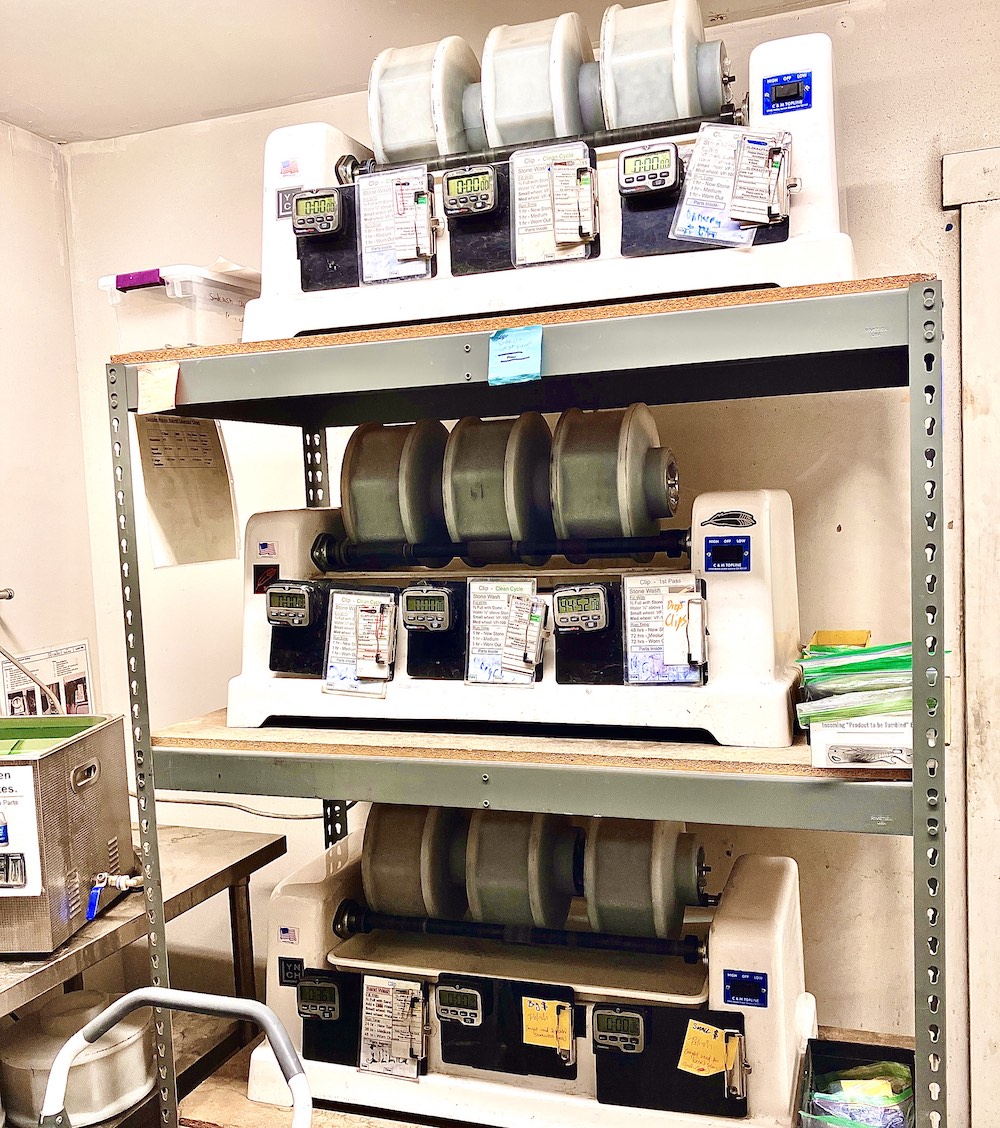
Next, the clips are ready for final finishing and are placed back in Kyle’s hands. That means that they go either to the blast cabinet station, or into the ‘Tumble Room’ (where the rotary and vibratory tumblers live), depending on the intended finish. Each finish has its own multi-step finishing process, processes that have been developed via a lot (a LOT!) of testing and trial and error. Most finishes take multiple days to complete as the clips work their way through the individual steps. After they come out of the final tumble cycle, the third QC inspection takes place. The clips are sorted, cleaned, rinsed, and racked for drying, and each one is individually inspected for surface flaws. The first ‘re-work’ typically happens here - if a clip has a flaw (scratches, marks, edge quality issues, etc), it’s sent back to the beginning of the finishing process.
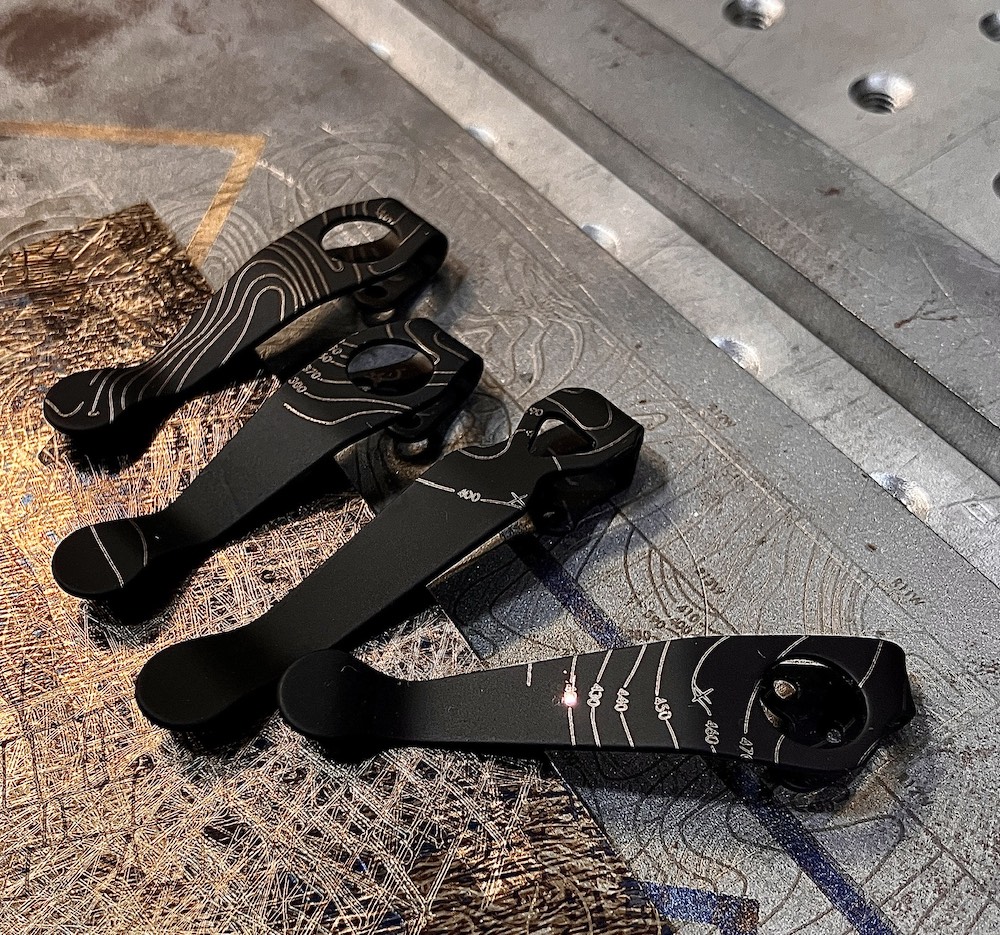
From here the clips make their way out to ‘The Floor’. This is where Max, Justin, Andrew, Nate, Anakin, and myself do anodization, ‘satin-ing’, bead blasting, entropic, Black-Smithing, laser marking, and other processes (including Cerakoting, soon, we hope) that are specific to each finish. A fourth QC inspection happens after each one goes through its individual operation.
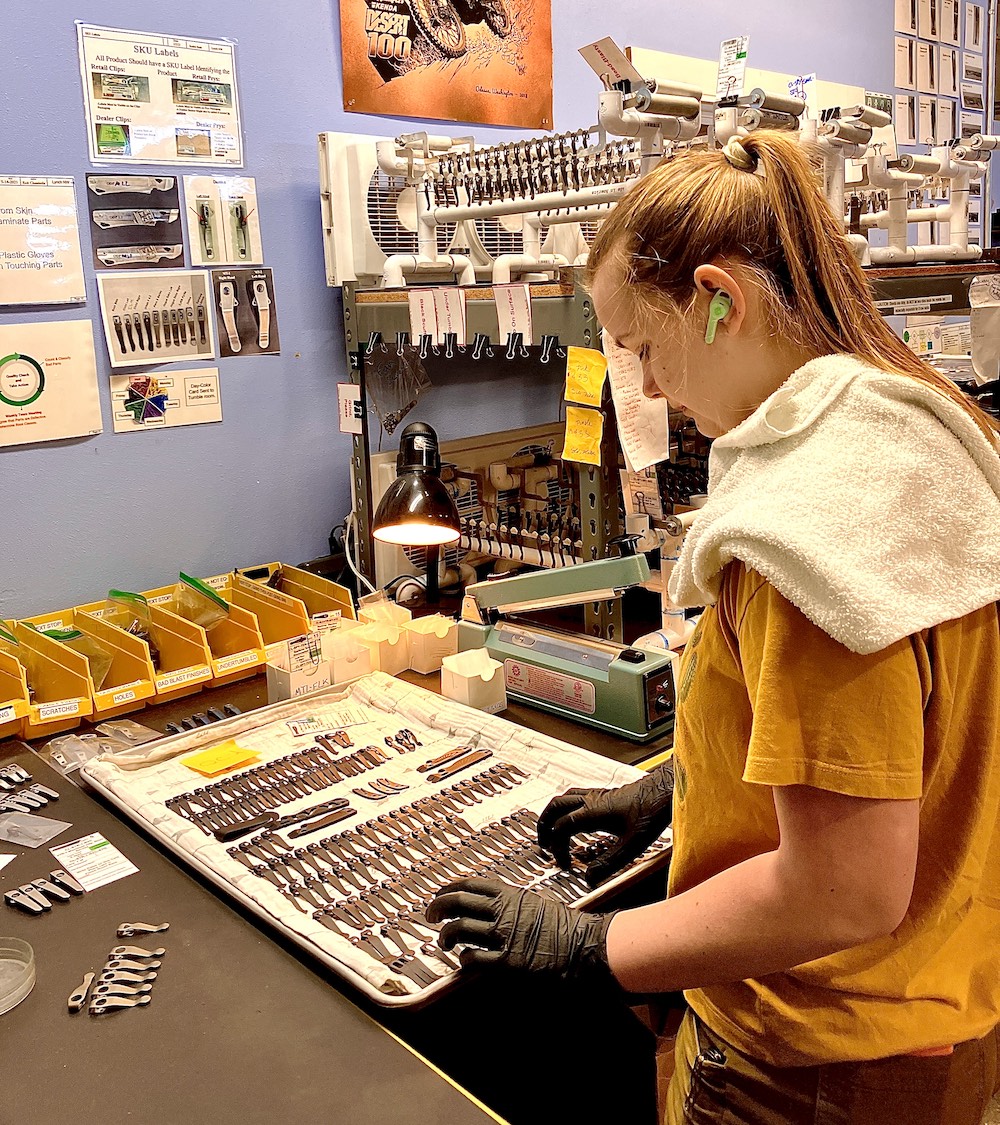
Finally, they’re on to Daisy, Justin, and Josiah. Daisy runs ’The Line’, and this is the last stage of production. It’s here where the fifth and final QC takes place. This step is one of the most critical parts in the whole process of making the clips. Final QC is where any issues in finish, surface quality, and tolerances that may have been missed are found via careful inspection. Every clip goes through it, and lots of clips are either scrapped or go back into re-work at this point. The parts that pass final QC are then individually packaged and labeled. The finished clips are placed into inventory and are ready to ship. This last step brings the production process full circle. I print out orders and write Thank You cards, and Riley and Ethan box them up and send them out to waiting customers.
The timeline for making a clip varies a bit from finish-to-finish, but the whole process, from front to back, takes on average 6-7 days for each and every part. All counted, each clip goes through seven to ten specific processes, depending on the finish, and are touched at least 20 times as they make their way through the shop. But even with all those touches, we always do our best to make sure and wipe off any fingerprints.

about us creative deep carry knife clips design edc everyday carry knife clips manufacturing our story small business team titanium who we are

